how to install our farmhouse sinks
Learn how to install a kaboodle farmhouse sink, from preparing your benchtop to sealing the sink. Get the tips you need for a great finish.

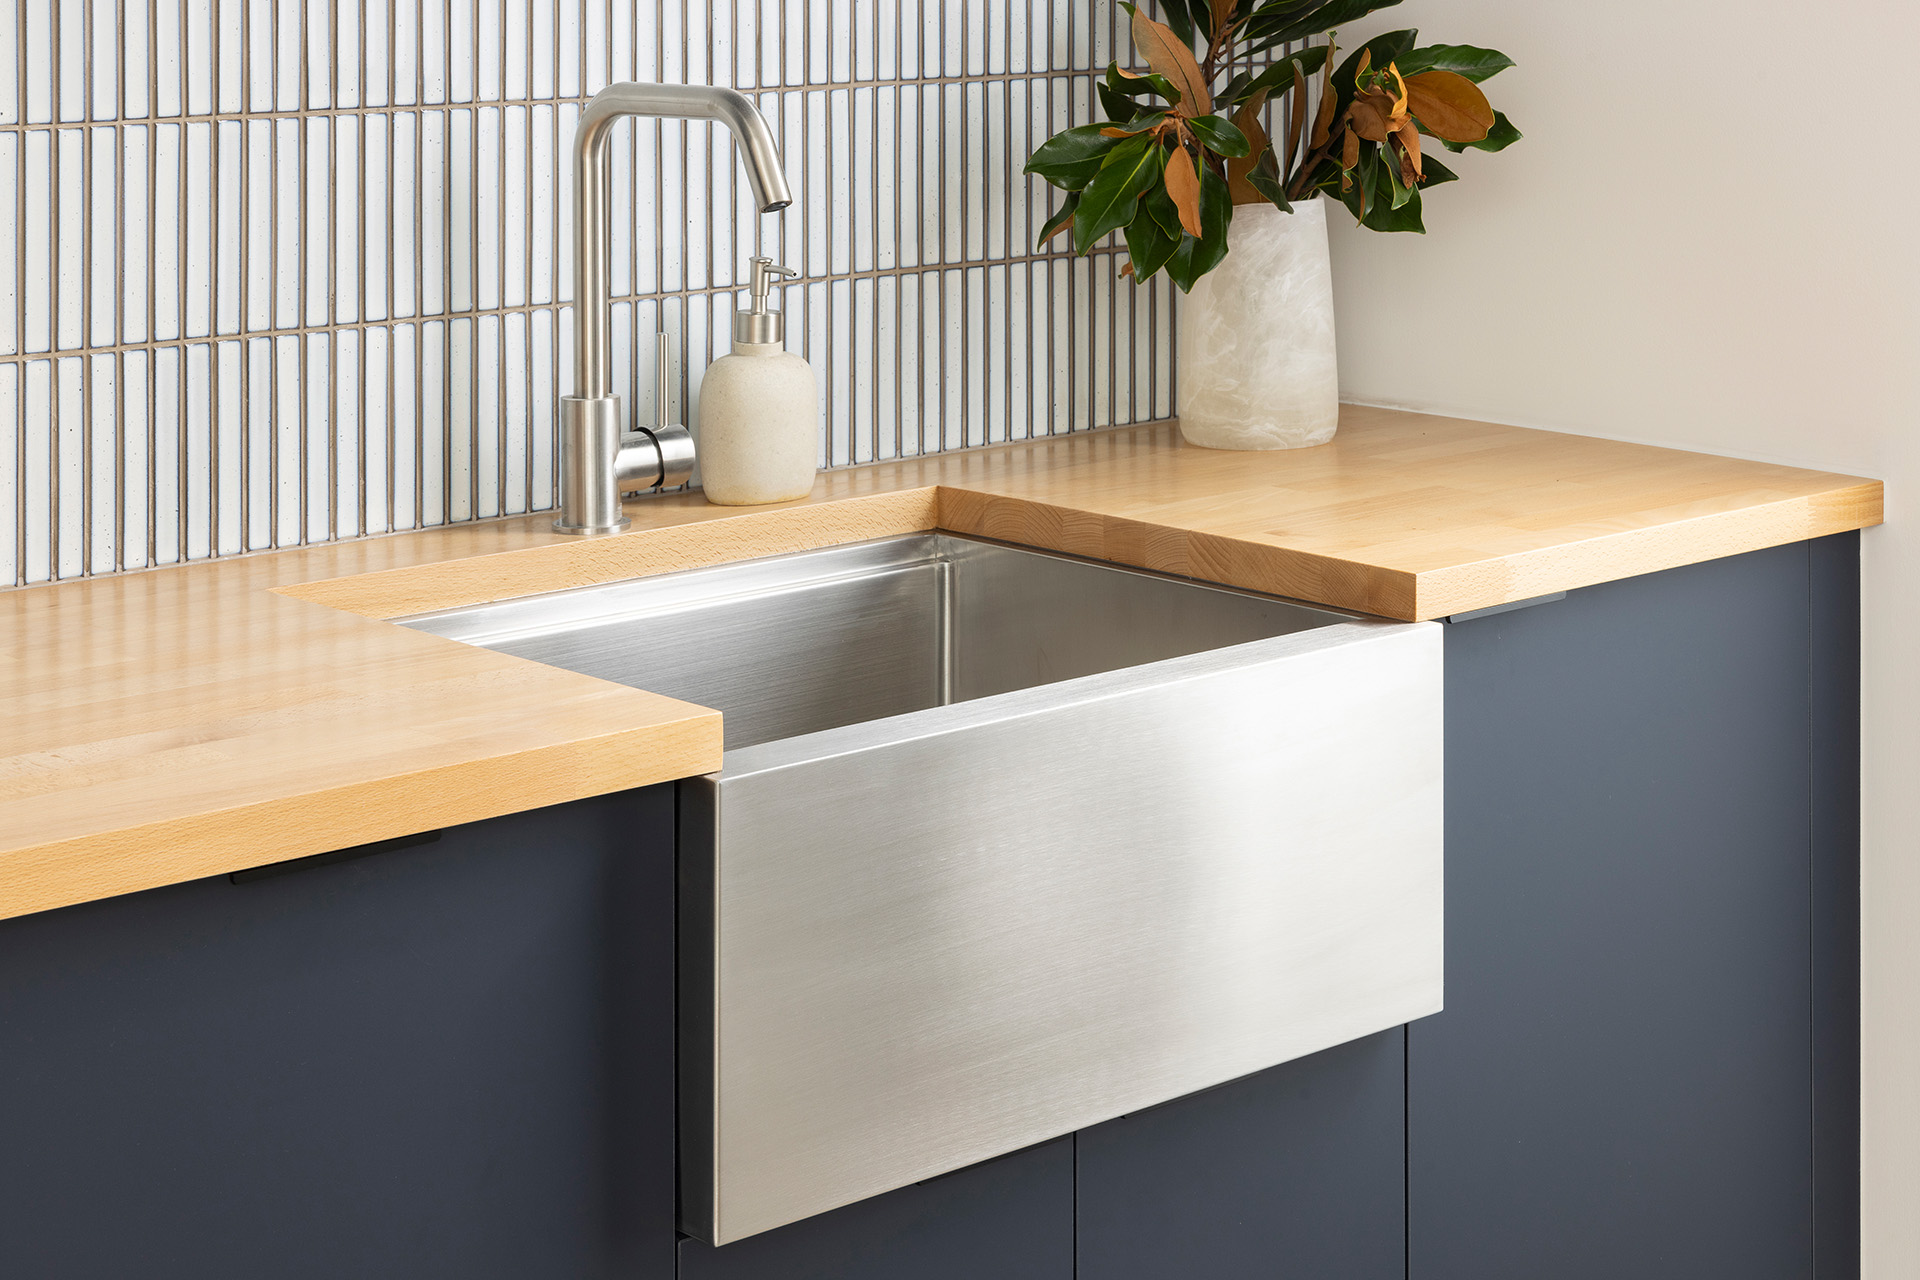
A farmhouse sink can make a big impact in your kitchen. With its generous proportions and distinctive front, it brings character to the heart of your home. But before you start cutting your benchtop, there are a few important things to know.
Our farmhouse sinks are designed for use with kaboodle farmhouse sink cabinets. It is suitable for undermount installation with stone, timber and composite benchtops. It is not suitable for installation with a laminate benchtop.
Here is what you need to know before you get started.
plan your farmhouse sink installation
Before installing your farmhouse sink, make sure you have your kitchen cabinets and benchtop planned correctly. When planning, it’s important to have a cabinet on either side of the sink to provide adequate support for the benchtop. Without sufficient support, the benchtop may be at risk of cracking or breaking due to the unsupported span. If you are using a different cabinet system, check the fit with your cabinet maker before you begin.
It is also important to remember that our fireclay sinks can have variations in size of up to 5mm. This is why a small tolerance gap is required around the sink. Once the sink is installed, these gaps should be sealed with silicone.
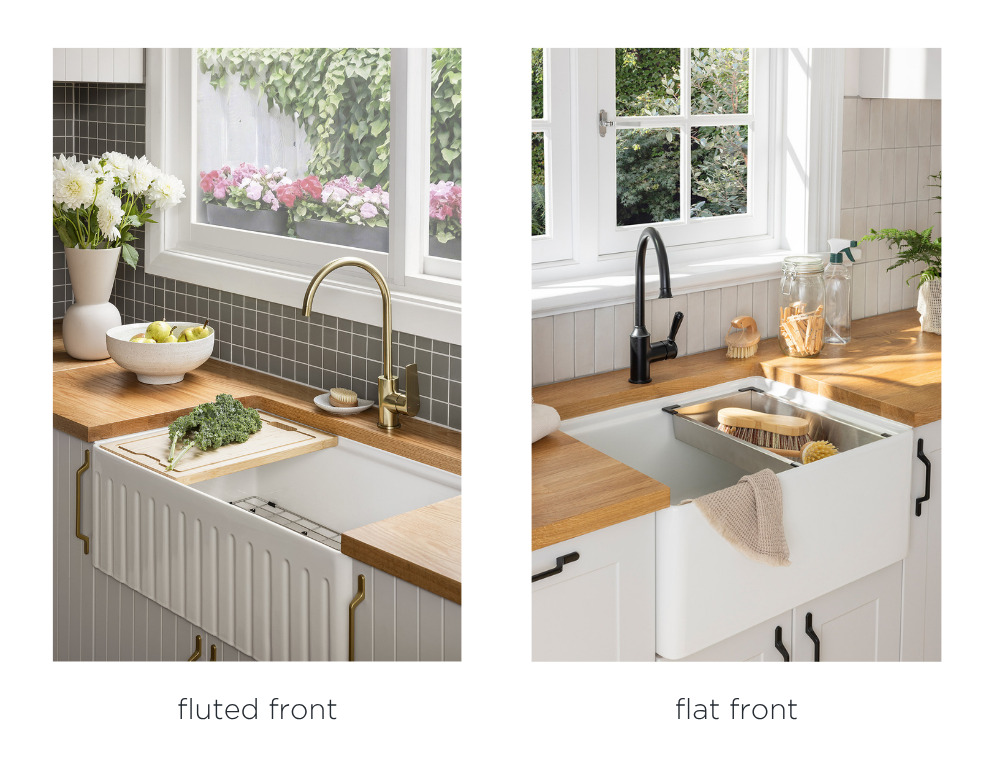
Our fireclay sink is reversible, too. It has both a fluted front and a flat front, so you can choose the look that best suits your kitchen style before installation.
For more detailed instructions visit the individual sink product page and click 'product downloads'. The below steps are relevant for timber benchtops only.
step 1: position your farmhouse sink
Place the sink on top of the installed sink cabinet. Position it so there are equal gaps on either side. The front of the sink should overhang the cabinet by 50mm.
Measure from the wall to the midpoint of the back rim of the sink in two places, just in from the rounded corners. These measurements will help you position your cutout accurately.
Take your time at this stage. A well-planned cutout is an important part of achieving a neat farmhouse sink installation.
step 2: create your own cutout template
One important difference with a fireclay farmhouse sink is that a cutout template is not supplied. This is because each sink can vary slightly in shape and size. Instead, you should create a template that matches your individual sink.
Turn the sink upside down on a stiff piece of cardboard. Trace around the sink, getting as far underneath the rim as possible. Cut 2–3mm inside the traced line. This helps ensure that the template sits inside the highest part of the sink rim.
Remember to mark the front and top of your template. This will help you keep the orientation correct as you position it on the benchtop.
step 3: mark the benchtop
Before making any sink cutout, all benchtops should be cut and shaped to fit into position. Place your cut benchtop on top of the cabinets. Transfer the sink-to-wall measurements to the top of the benchtop in the same two locations you measured earlier.
Next, mark the midpoint of the sink sides onto the front of the benchtop and rule up to mark the top. Use a 44mm hole saw to cut two holes in the benchtop, just inside the marked rear corners of the cutout. Drill from the top face of the benchtop. Hold the drill vertically and work slowly and carefully, clearing dust as you go. Do not force the drill.
Turn the benchtop over and position your template using the cut holes and the marks on the front edge. Make sure both the template and benchtop are facing the correct way, then trace around the template.
step 4: check the cutout
Before making your final cuts, test the fit of your template. The template should sit between the top of the sink rim and the inside face. This allows water to fall into the sink rather than pooling against the benchtop.
Check the benchtop overhang, too. If it extends too far over the sink, it could restrict access to items placed on the accessory lip. Trim the template if needed until you have the right fit.
This is a good time to double-check your measurements.
step 5: cut and sand the benchtop
Make the remaining cuts using a jigsaw or circular saw. Stay just inside the marked lines. Use a clamped straight edge to help keep your cuts straight. When using a circular saw, cut on the underside of the benchtop and work slowly and steadily. Make sure the offcut is supported while cutting to help prevent injury.
Once the cut is complete, use an orbital sander or sanding block to sand the cutout back to your marked lines. Clean up the edges with sandpaper and remove any splinters. You may also choose to add a small radius to the front corners of the cutout.
step 6: position and level the sink
Place the sink and benchtop into position on top of the cabinets and test the fit. Make sure the edge of the cutout sits between the top of the sink rim and the inside face. Sand further if needed. If required, use packing shims on top of the front and rear support rails to level and lift the sink.
You will need to apply silicone around the entire top of the sink, so leave a small gap between the sink and benchtop. It is important that the sink does not lift the benchtop.
step 7: seal the farmhouse sink
Once the sink is correctly positioned, make sure it is straight and that the benchtop cutout slightly overhangs the sink on all sides.
Apply a bead of silicone between the sides of the sink and the cabinets on either side. If needed, also apply silicone between the bottom of the sink and the sink cabinet. Then apply silicone between the top of the sink and the benchtop all the way around.
Sealing the gaps around the sink is important. It helps prevent water from entering the cabinets and protects the surrounding cabinetry. Allow the silicone to cure according to the manufacturer's instructions.
step 8: finish your installation
Finish any other required benchtop cutouts and complete the benchtop finish. For timber benchtops, thoroughly seal all cutouts using at least three coats of your chosen sealant.
Once your finished benchtops have been installed according to the relevant benchtop installation instructions, install the sink waste using a tightening tool or flat-head screwdriver.
Your farmhouse sink installation is now complete.
For all plumbing work, always use a registered plumber. Do not attempt plumbing work yourself.
how to care for your farmhouse sink
A little regular care can help keep your sink looking great for years to come. Clean the sink regularly with dishwashing liquid and a soft cloth or sponge. If water is sitting in the bottom of the sink, wipe it out to help avoid staining.
For tougher stains, the installation guide recommends making a paste using borax and cleaning vinegar. This can be left on the sink for a few hours before wiping it away. Avoid using scourers, steel wool, metal brushes, bleach, chemicals or abrasive cleaners.
make your farmhouse sink your own
A farmhouse sink is more than a practical part of your kitchen. It can become a feature that helps give your space its own personality. Whether you are creating a classic country kitchen, a modern farmhouse look or something completely your own, choosing the right sink is important for any kitchen.
For more ideas and information, visit our design blog and image gallery, or follow us on Instagram, TikTok, Facebook and Pinterest.