how to create a custom display unit
Create a custom display unit with kaboodle. Follow our step-by-step guide to build, install and style your own kitchen shelving.
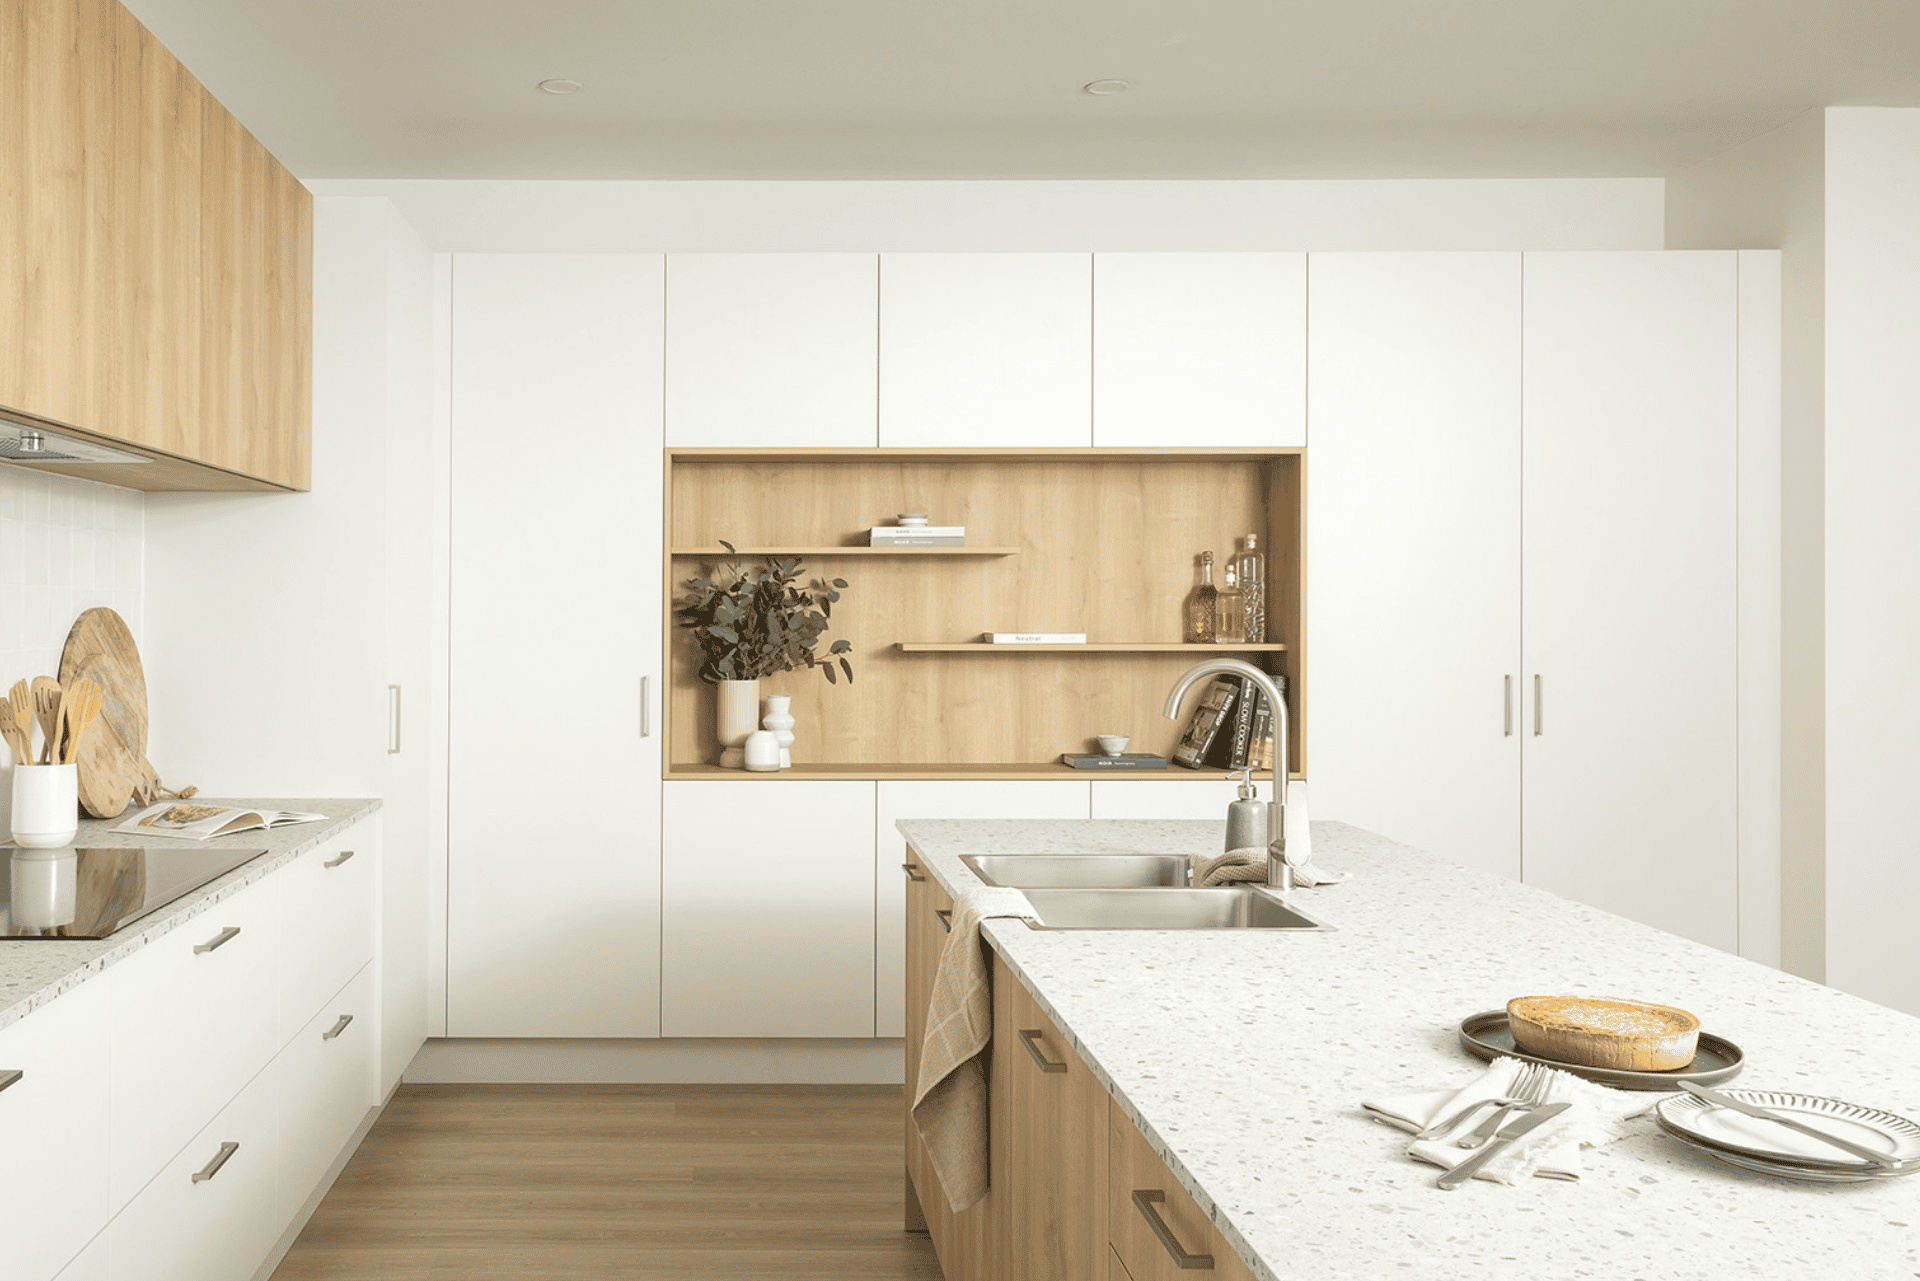
Want to add a custom feature to your kitchen? Creating your display unit is a great way to add storage, display your favourite pieces and give your kitchen a more personal feel.
In this project, we created a large custom open display unit that sits between base and wall cabinetry, with tall pantries on either side. The finished display unit spans three 600mm cabinets, creating an 1800mm-wide feature. If you’re looking for a simpler way to create an open shelf display, we offer many different prefabricated customisable open shelving options, but if you’re up for the challenge, read below on how you can make it.
Here’s how you can create a similar display unit in your own kitchen.
what you’ll need
For the custom unit itself, cajun oak multi-purpose panels were used. The panels were ordered in the following sizes:
2 x pieces at 250mm W x 930mm H for the two sides
2 x pieces at 250mm W x 1764mm H for the two horizontal pieces
1 x piece at 930mm W x 1800mm H for the back of the shelf
2 x pieces at 175mm W x 1050mm H for the two off-centred shelves
Helpful tip: Measure your space carefully before ordering your panels. Your measurements will depend on the cabinetry, finished depth and overall look you want to achieve.
step 1: plan the cabinetry around your shelf
First, think about what you want above and below the display unit.
Here, 600mm base cabinets were installed below the open shelf, while 600mm medium wall cabinets were used above it.
This creates a balanced look and gives the open shelf a clear spot to stand out as a feature.
step 2: work out the width and height of the display unit
Next, using the space between the cabinetry, work out how wide your custom unit will be.
For this project, the cajan oak unit runs across three 600mm cabinets, giving it a total width of 1800mm.
Then work out the height. In this case our shelf was 930mm high.
Starting with our modular cabinetry can make planning your kitchen easier, while customisable options can help you make the most of your available space.
You can now order your kitchen materials, including the multi-purpose panels required for the unit.
step 3: build the outer box
Start by laying out the outer box pieces of your custom shelving unit.
Once the pieces are positioned, carefully drill two pilot holes at each end of the side and horizontal pieces. Take care to position the holes so the screws will pass through the centre of the horizontal pieces.
Make sure the pilot holes are deep enough to allow for the 50mm screws to be countersunk into the panel.
This helps create a neater finish and keeps the screw heads from sitting proud of the surface.
step 4: screw the box together
Once your pilot holes are ready, carefully screw the pieces together.
Use two screws at each corner of the box.
Take your time at this stage and check that the frame remains square as you work. A square, stable outer box will make the remaining steps much easier.
step 5: add the backing panel
Next, attach the backing board to the box.
The backing panel should sit flush with the outside perimeter of the box.
As with the side pieces, start by drilling pilot holes in both panels. Position the first holes 50mm from each corner, then add further holes at least every 300mm along the panel.
Once the pilot holes are in place, carefully screw the backing board to the box.
You should now have a strong outer frame ready for the internal shelves.
step 6: add your floating shelves
Now it’s time to add the two off-centred shelves.
Before drilling, measure and mark exactly where you want each shelf to sit. This is where you can add a little personality to your custom shelving unit.
Once you’re happy with the position, carefully drill through the back board and the side of the box.
Then secure the shelves in place.
An off-centred layout can help create a more relaxed, considered look while giving you different-sized spaces for displaying your favourite kitchen pieces.
step 7: position your custom display
Your custom unit is now ready to install into your kitchen.
Carefully clamp the sides of the box to the kaboodle cabinetry on either side. Before fixing it permanently, check that the unit is sitting at your desired finished depth.
For this project, we recommend finishing the open shelf 3mm proud of the finished door depth.
In this example, the open shelf was installed 21mm out from the pantry cabinet to allow for the 18mm door.
Take a moment to check the alignment from several angles before fixing the shelf in place.
step 8: secure the display unit to the cabinetry
Once you’re happy with the position, screw the open shelf through either side of the pantry cabinets using 30mm screws.
Make sure everything is secure and correctly aligned before removing the clamps.
step 9: style your new display
Now comes the fun part.
Your custom shelving unit gives you an opportunity to add some personality to your kitchen. Try styling it with your favourite cookbooks, ceramics, or even a few fresh flowers.
You don’t need to fill every space. Leaving some room around your favourite pieces can help the shelf feel open and considered.
Open shelving is a simple way to combine storage with display, while giving your kitchen a more personal feel.
You Made It
And just like that, you’ve created your own custom display unit.
The best part? It’s not just another storage solution. It’s something you’ve made to suit your kitchen and style.
For more ideas and information, visit our design blog and image gallery, or follow us on Instagram, TikTok, Facebook and Pinterest.